Having gone on the Fluid Preservation Course in December, I was keen to put my new skills to use as soon as possible. I began by assessing Ludlow’s wet collection, identifying which specimens were in greatest need of preservation and what that might entail. Before I could act on the assessment I made, Worcestershire Museums contacted us at Ludlow asking for some expertise regarding conserving and topping up wet collections.
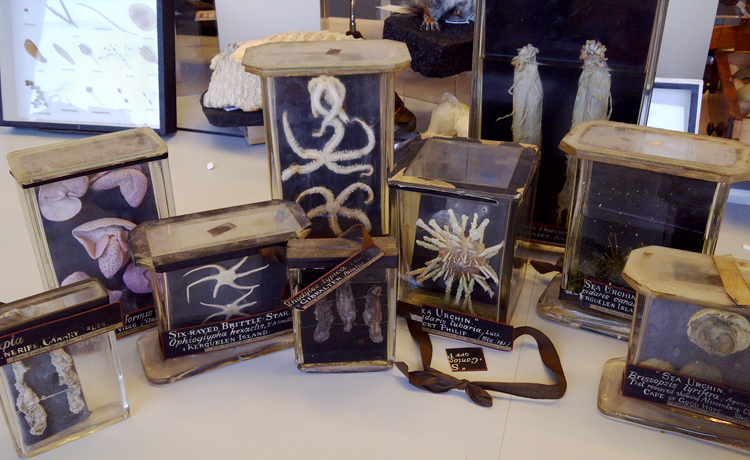
Debbie Fox and Garston Phillips from Worcester visited Ludlow with ten specimens in jars that needed to be conserved before being put on public display. These specimens are all marine and from the Challenger Expedition (1872-76).
I had limited resources and facilities at Ludlow Resource Centre but was able to work on some of the objects. Six of them were dehydrated and brittle which meant I could conserve them; since I had no way of checking what the existing fluid was in the other jars, I couldn’t treat them without undue risk. One of the six had a broken lid which meant I couldn’t do anything with that (I had no way of cutting a new one). Unfortunately one of the remaining five (the tall one with three sea stars) contained specimens that had been crudely fixed using some kind of glue. I didn’t know how the rehydrating process would affect the glue so thought it best to leave it as it was.
So that left me with only four jars (from the original ten) that I could sort out and give back to Worcester for display. Luckily, they were four different and interesting specimens.
I looked at what equipment I would need and checked if the lab had it or if we could get it. I thought I had done a thorough job but there were a few hiccups that had to be overcome using resourcefulness, initiative and last-minute panic.
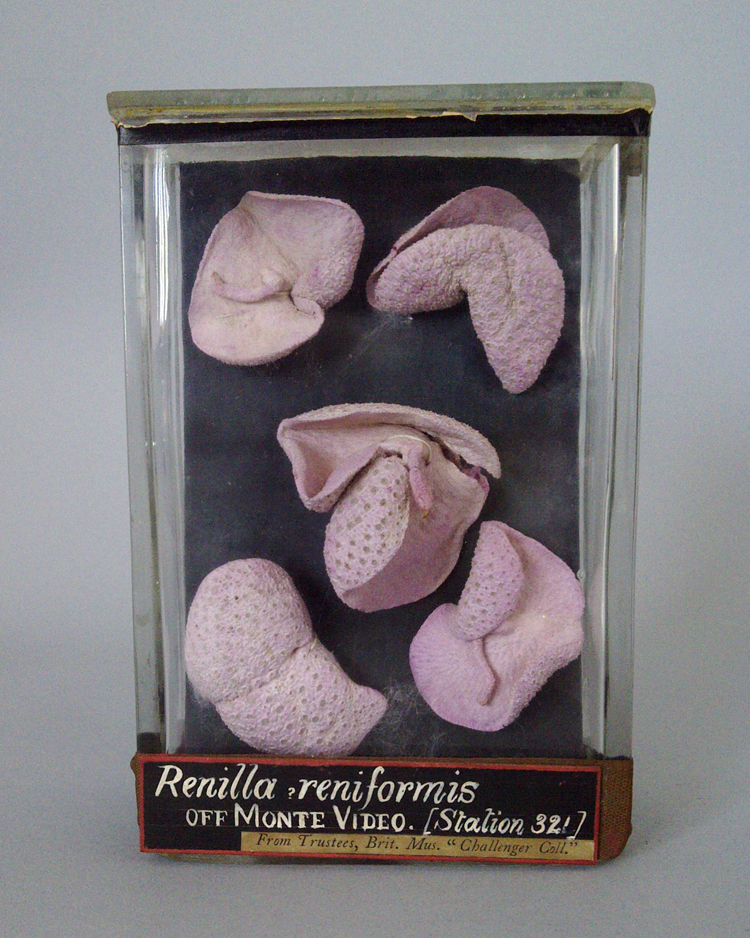
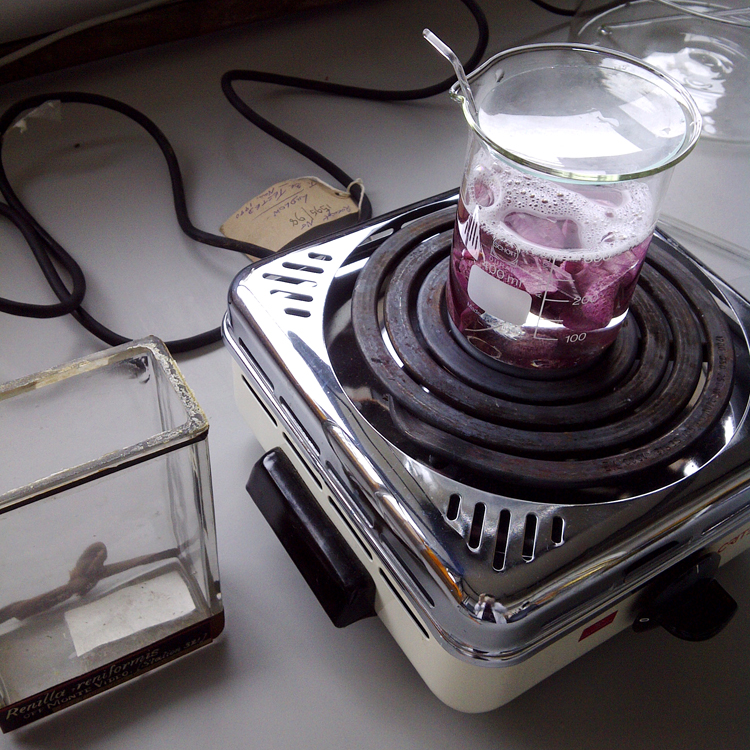
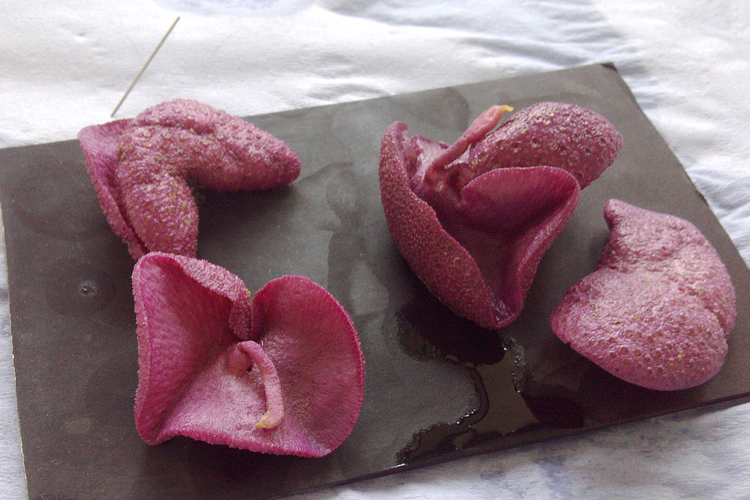
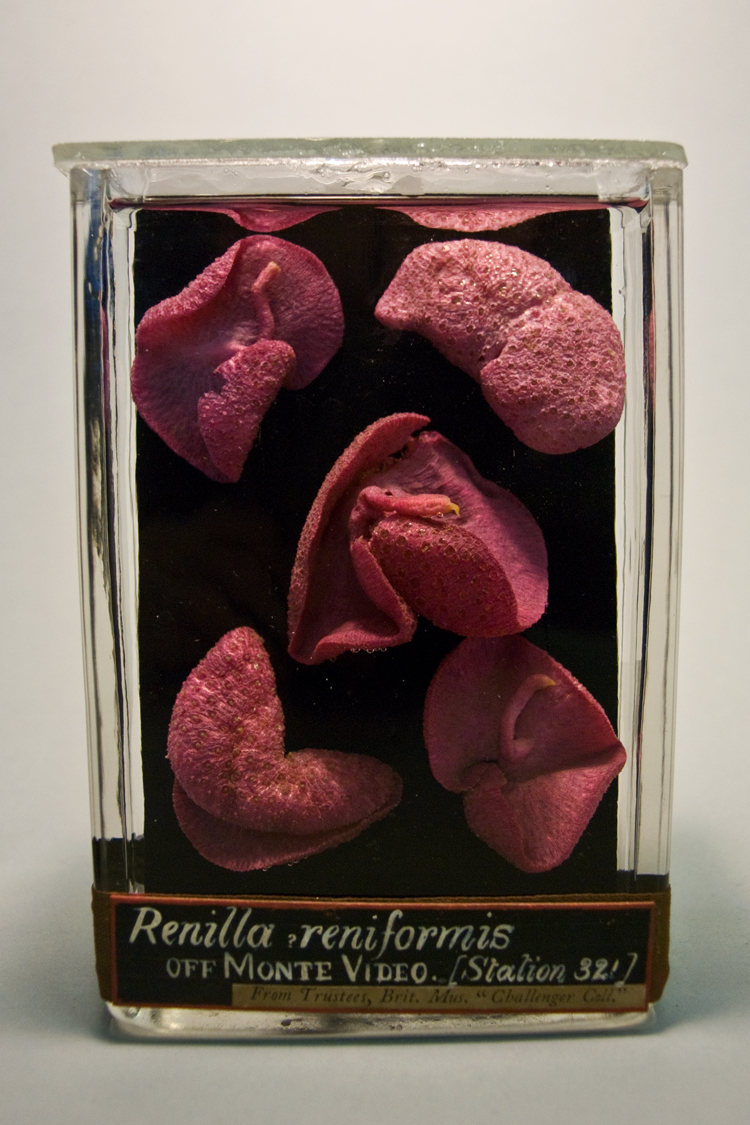
I began the process with the sea pansies. They were light and brittle and a very pale pink in colour. They had been sewn onto their glass backing with one piece of string which I can only guess was easier to do when the sea pansies were fresh. I cut the string and carefully unthreaded them. I transferred them into a solution of Decon 90 which I warmed up to 30-40˚C.
Decon 90 is a detergent used to rehydrate dried-out specimens (its concentration depends on the tissue you’re rehydrating). As soon as they were in the solution, their dull, powder-pink lobes flushed with deep colour and became plump and engorged. While each specimen was rehydrating I used Decon 90 to clean the jars (after removing any labels); as a detergent it brings the glass up all shiny and like new.
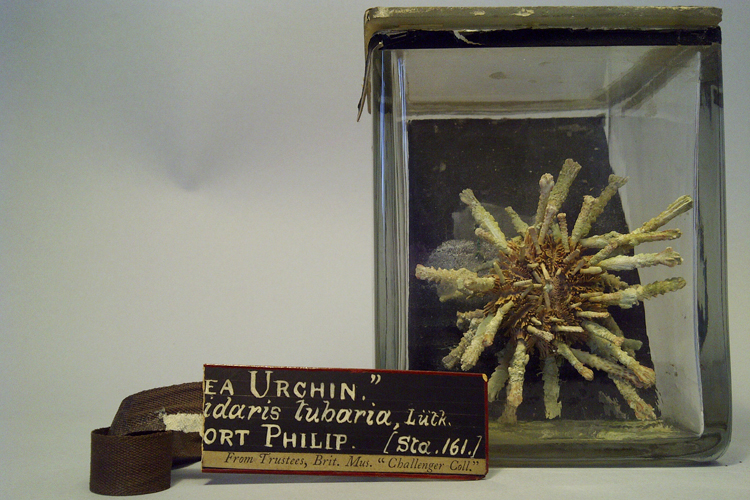
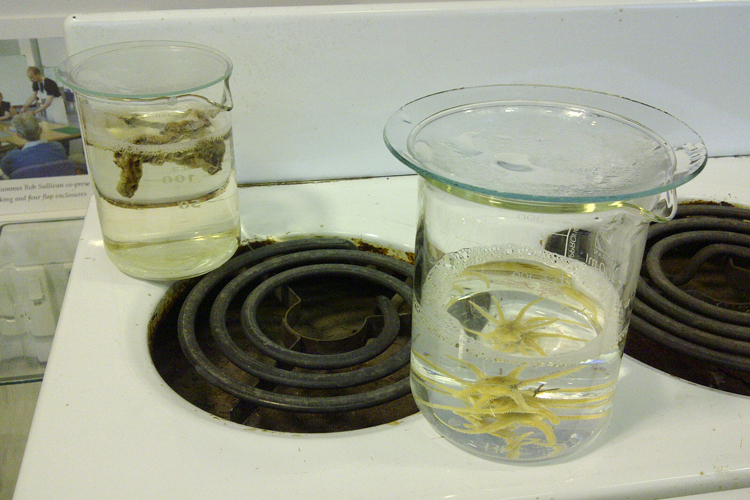
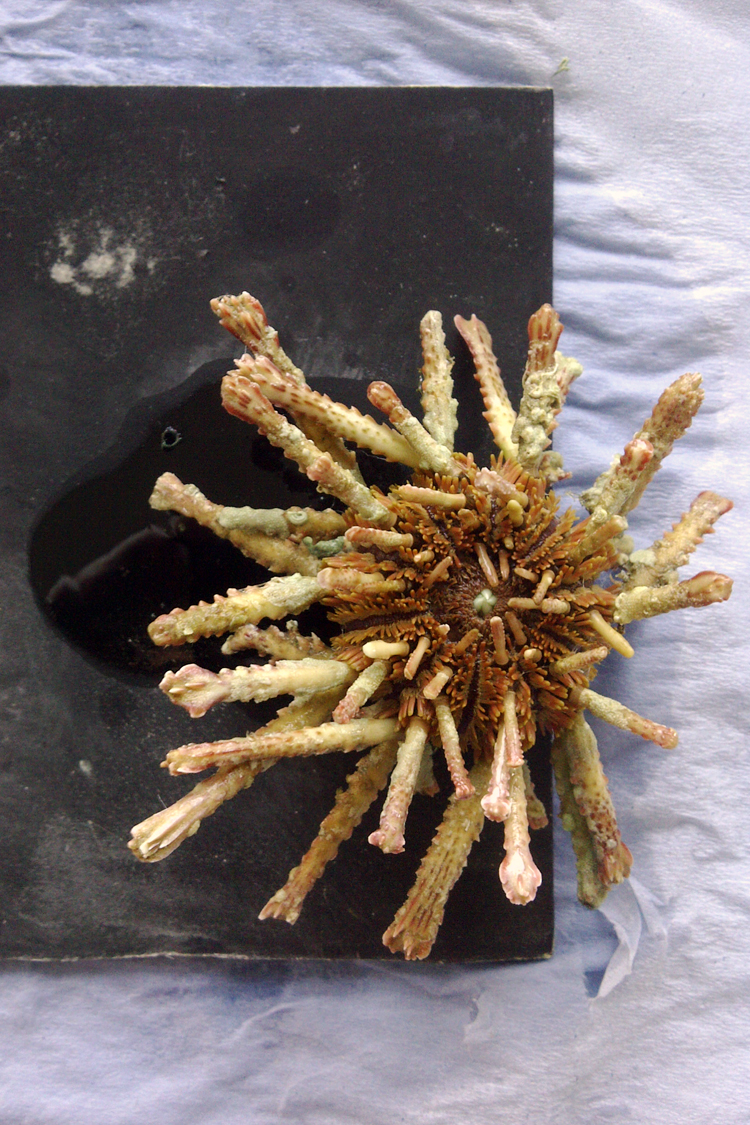
I then did the same thing to the sea urchin. Here it is before I started:
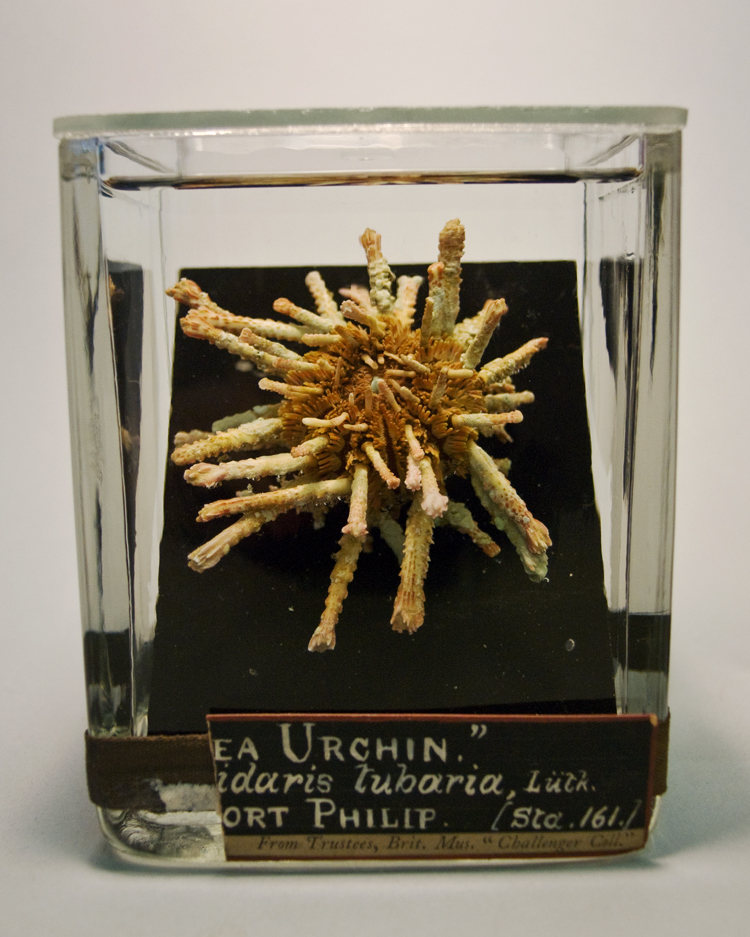
It was covered in a green crust which fell away once in the detergent. It looked like a different urchin once it had rehydrated. After they had been in Decon 90 long enough and had regained some colour and looked ‘healthier’, I transferred them to 10% Industrial Methylated Spirits (IMS).
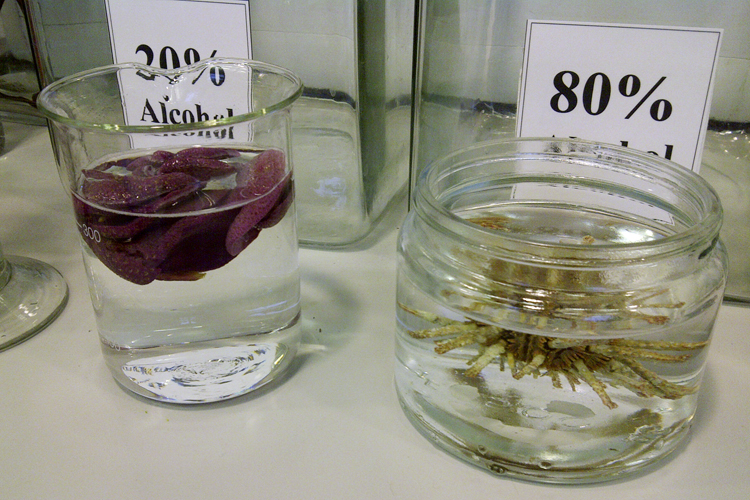
The last two specimens (a pair of sea cucumbers and a pair of brittle stars) were rehydrated whilst the first two were in 10% IMS. Once all four specimens were at the same IMS concentration, I moved them up the concentration ladder together, giving them all time to do so without causing them any stress.
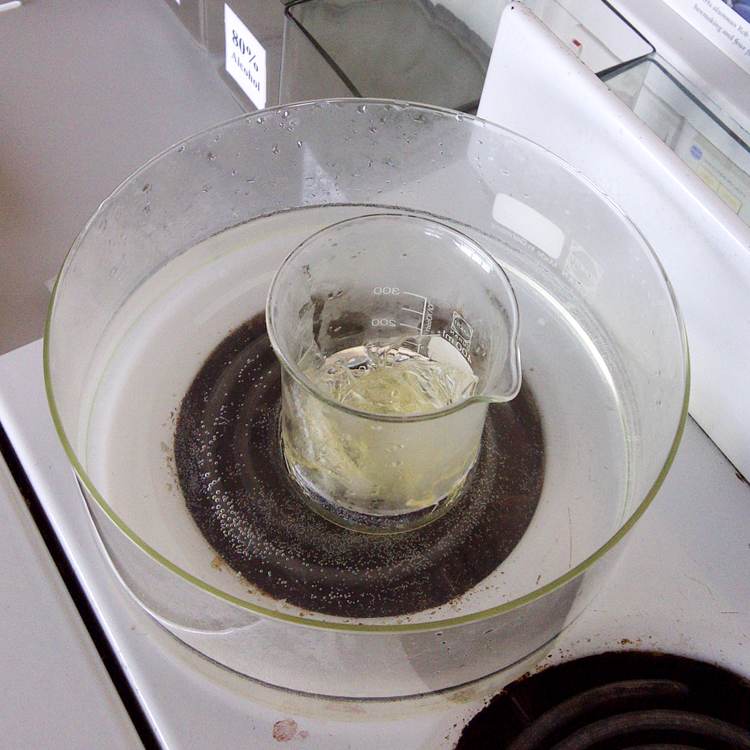
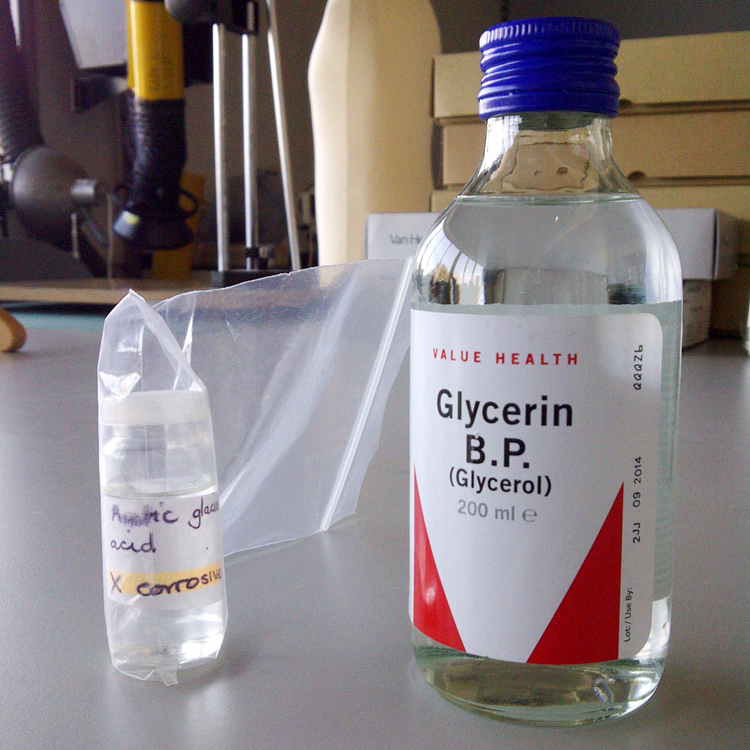
While the specimens were in working their way up through the IMS concentrations (until they reached the goal of 80%) I got to work on preparing the seal for the jars. I planned to seal the jars with gelatine (as shown in my course) but failed to realise that in addition to gelatine sheets (which I got from a high street supermarket in the form of sheets), the seal required glycerol and glacial acetic acid (GAA). Glycerol is also available from a high street chemist (and is very cheap) but although GAA used to be available on the high street, it no longer is. I phoned many chemists and scientific suppliers but was unable to get my hands on it either cheaply or quickly enough. Luckily, I had the presence of mind to phone the sixth form college in Hereford and ask their science department and they were able to provide me with a small amount (I only needed 3ml). Thanks, college!
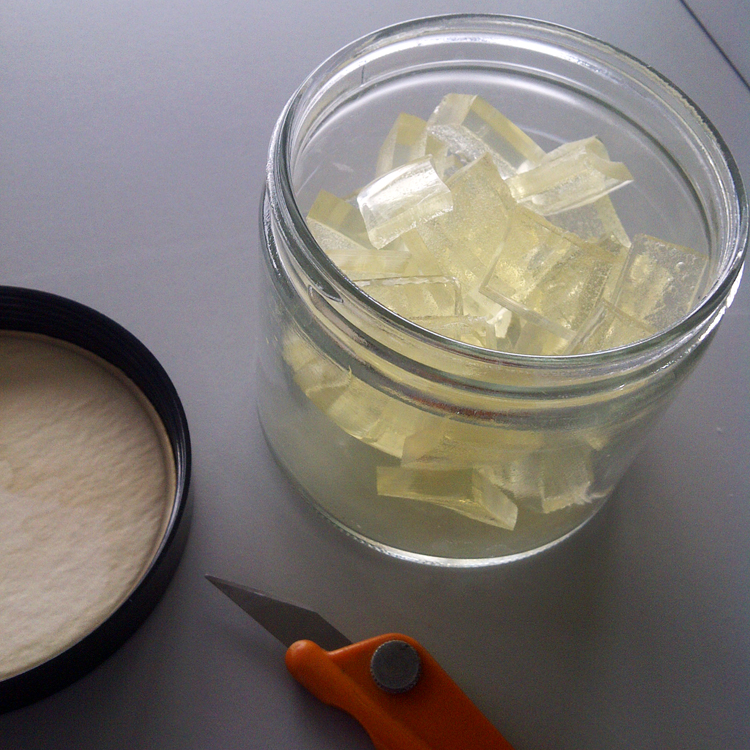
I prepared the gelatine as per Simon Moore’s instructions and it set perfectly. Then I cut it up into little pieces, ready to be used when I needed it. Only one of the lids that I needed to ultimately seal had holes pre-drilled. This meant that I needed to go on a mission in the small town of Ludlow to find some drill-bits capable of cutting through glass. I found some eventually and was able to drill the required holes. The drill-bits weren’t great and I nearly died thinking these 130+ year old glass lids were going to shatter in my hands.
Once the specimens were in 80% IMS it was time for me to mount them back onto their paper-covered glass sheets. This was probably the hardest part of the process. I was told that we had plenty of needles as well as fishing line (monofilament) and got all set up. It turns out that the only needles we had were tapestry ones which were a) blunt and b) too thick. The fishing line was also too heavy a grade. I managed to obtain some lovely needles fairly easily but then had to wander two miles to the nearest supplier of fishing line and back.
After a few false starts I was finally ready to sew the specimens back onto their supports. This was fiddly and required concentration, a steady hand and lots of patience. Once I had them all sewn on I was able to breathe a sigh of relief and get on with filling the jars up with new 80% and sealing the lids.
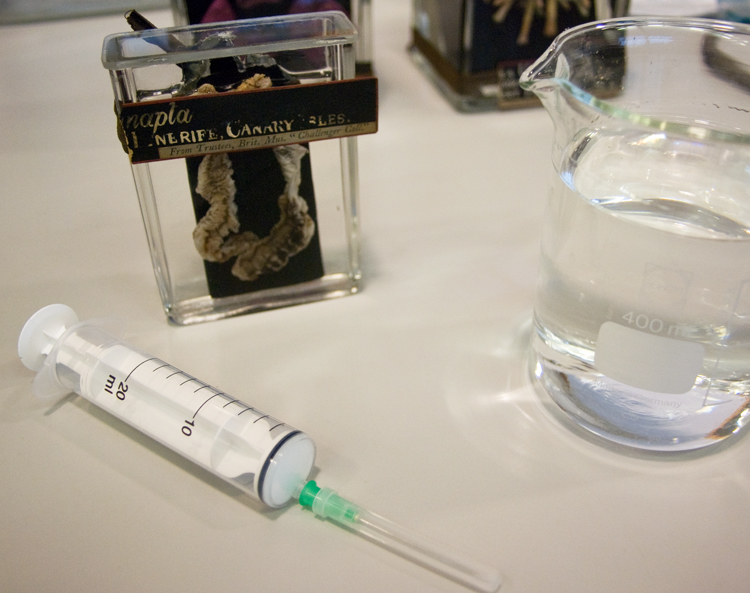
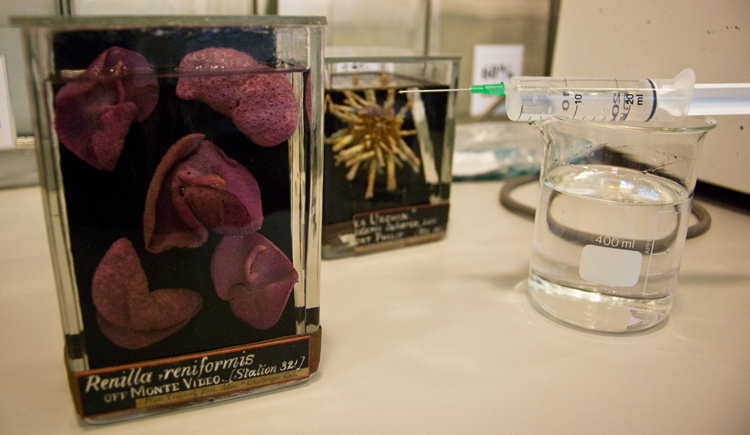
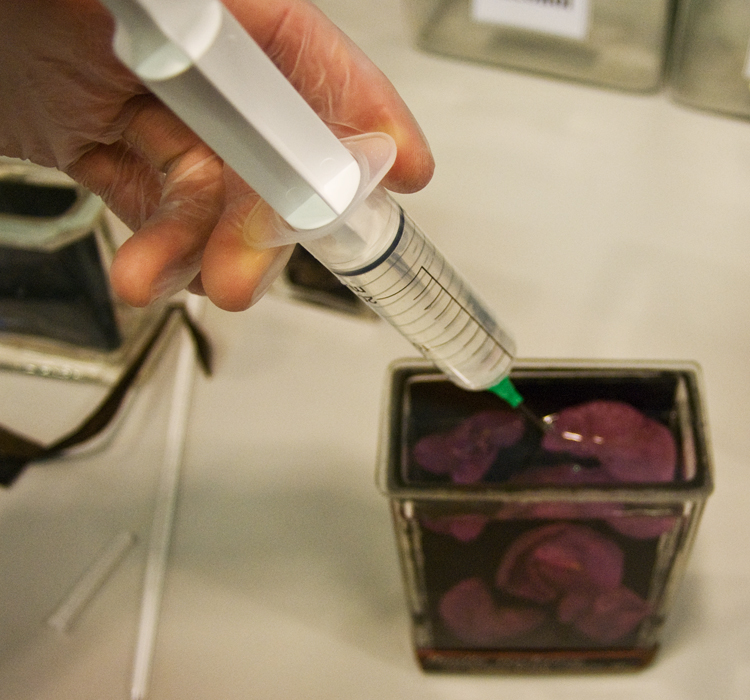
I filled the jars about two thirds full so that the alcohol wouldn’t react to the gelatine I was using to seal the lid. I topped the rest of the jar up using a syringe through the hole I drilled in the lid. The hole was sealed using gelatine and a microscope cover slip.
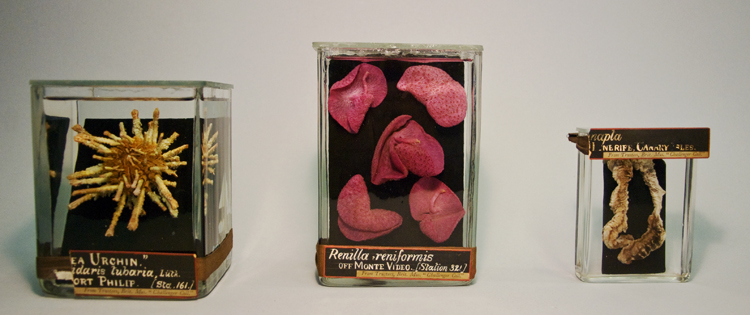
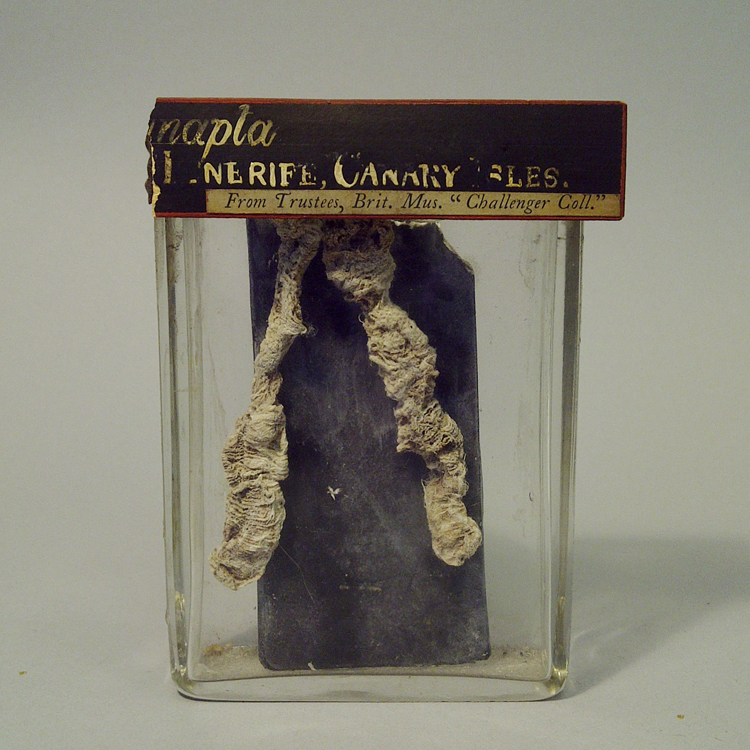
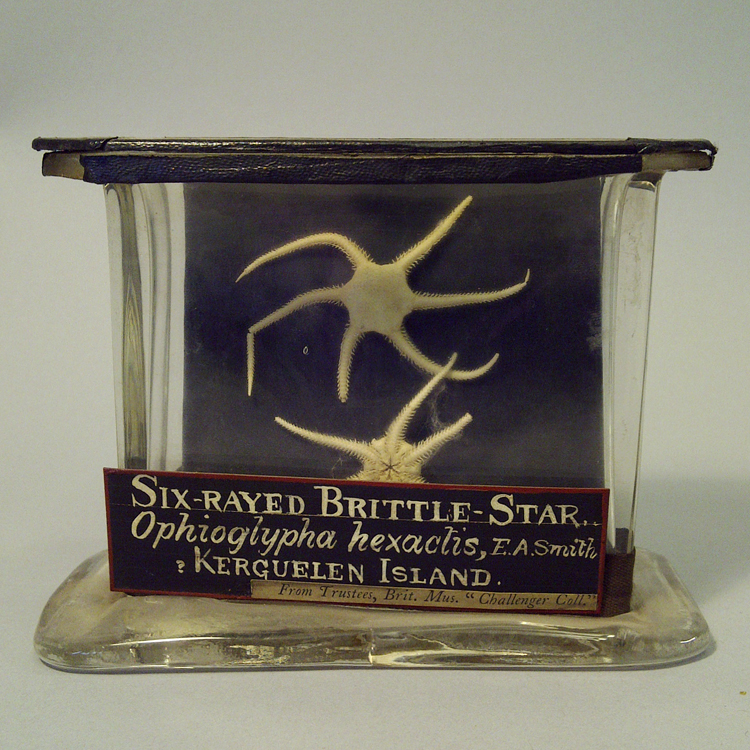
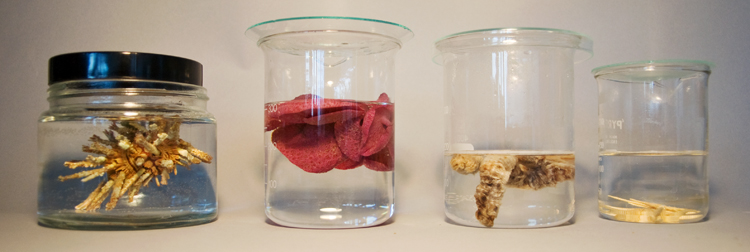
Now the four specimens have been cleaned, rehydrated and preserved, they are ready to go on show in Worcester. I can’t wait to visit and see them in situ. Here’s how they look now:

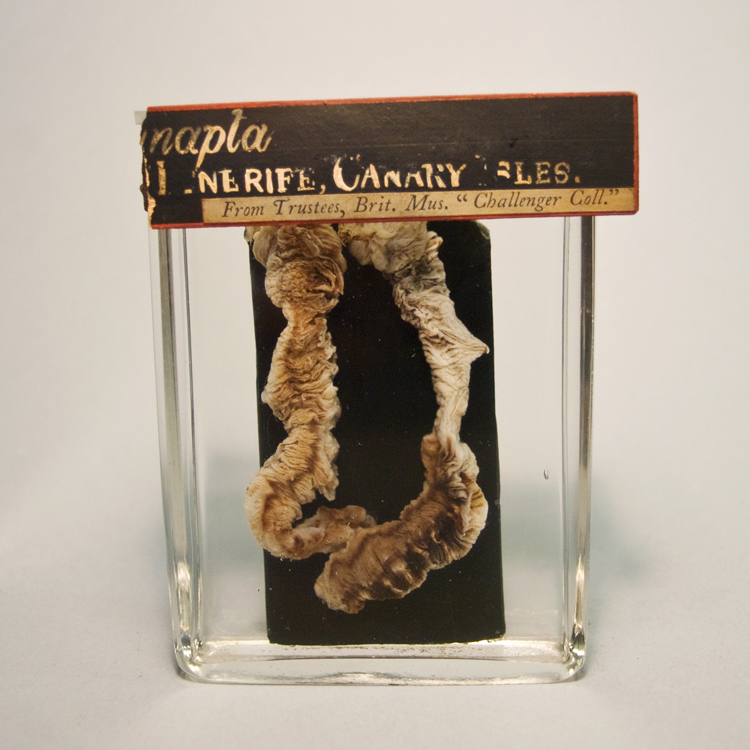
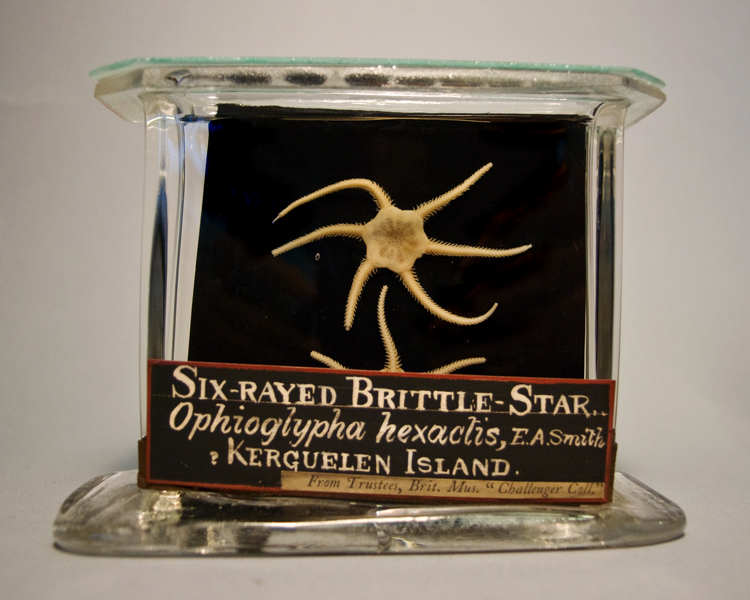

Wow, it’s so awesome that you got to work on Challenger specimens.
At some point Kate is going to teach me and Rachel some of what she learnt on the Spirit Preservation Course as we have botanical specimens in the spirit collection that have dried out. Can’t wait!
hi, i wonder if you can help us – some years ago we bought a collection of boxed victorian specimens, some of which are labelled “Challenger” – which I assume from the types of organisms, are from, or were collected on the Challenger exhibition. We don’t really know how to keep them, and wondered if you might be able to offer any advice – all the specimens are in little glass boxes. Any info would be hugely appreciated – Vanessa@vanessafrisbee.com
Put them in plastic boxes with some glycerol.